


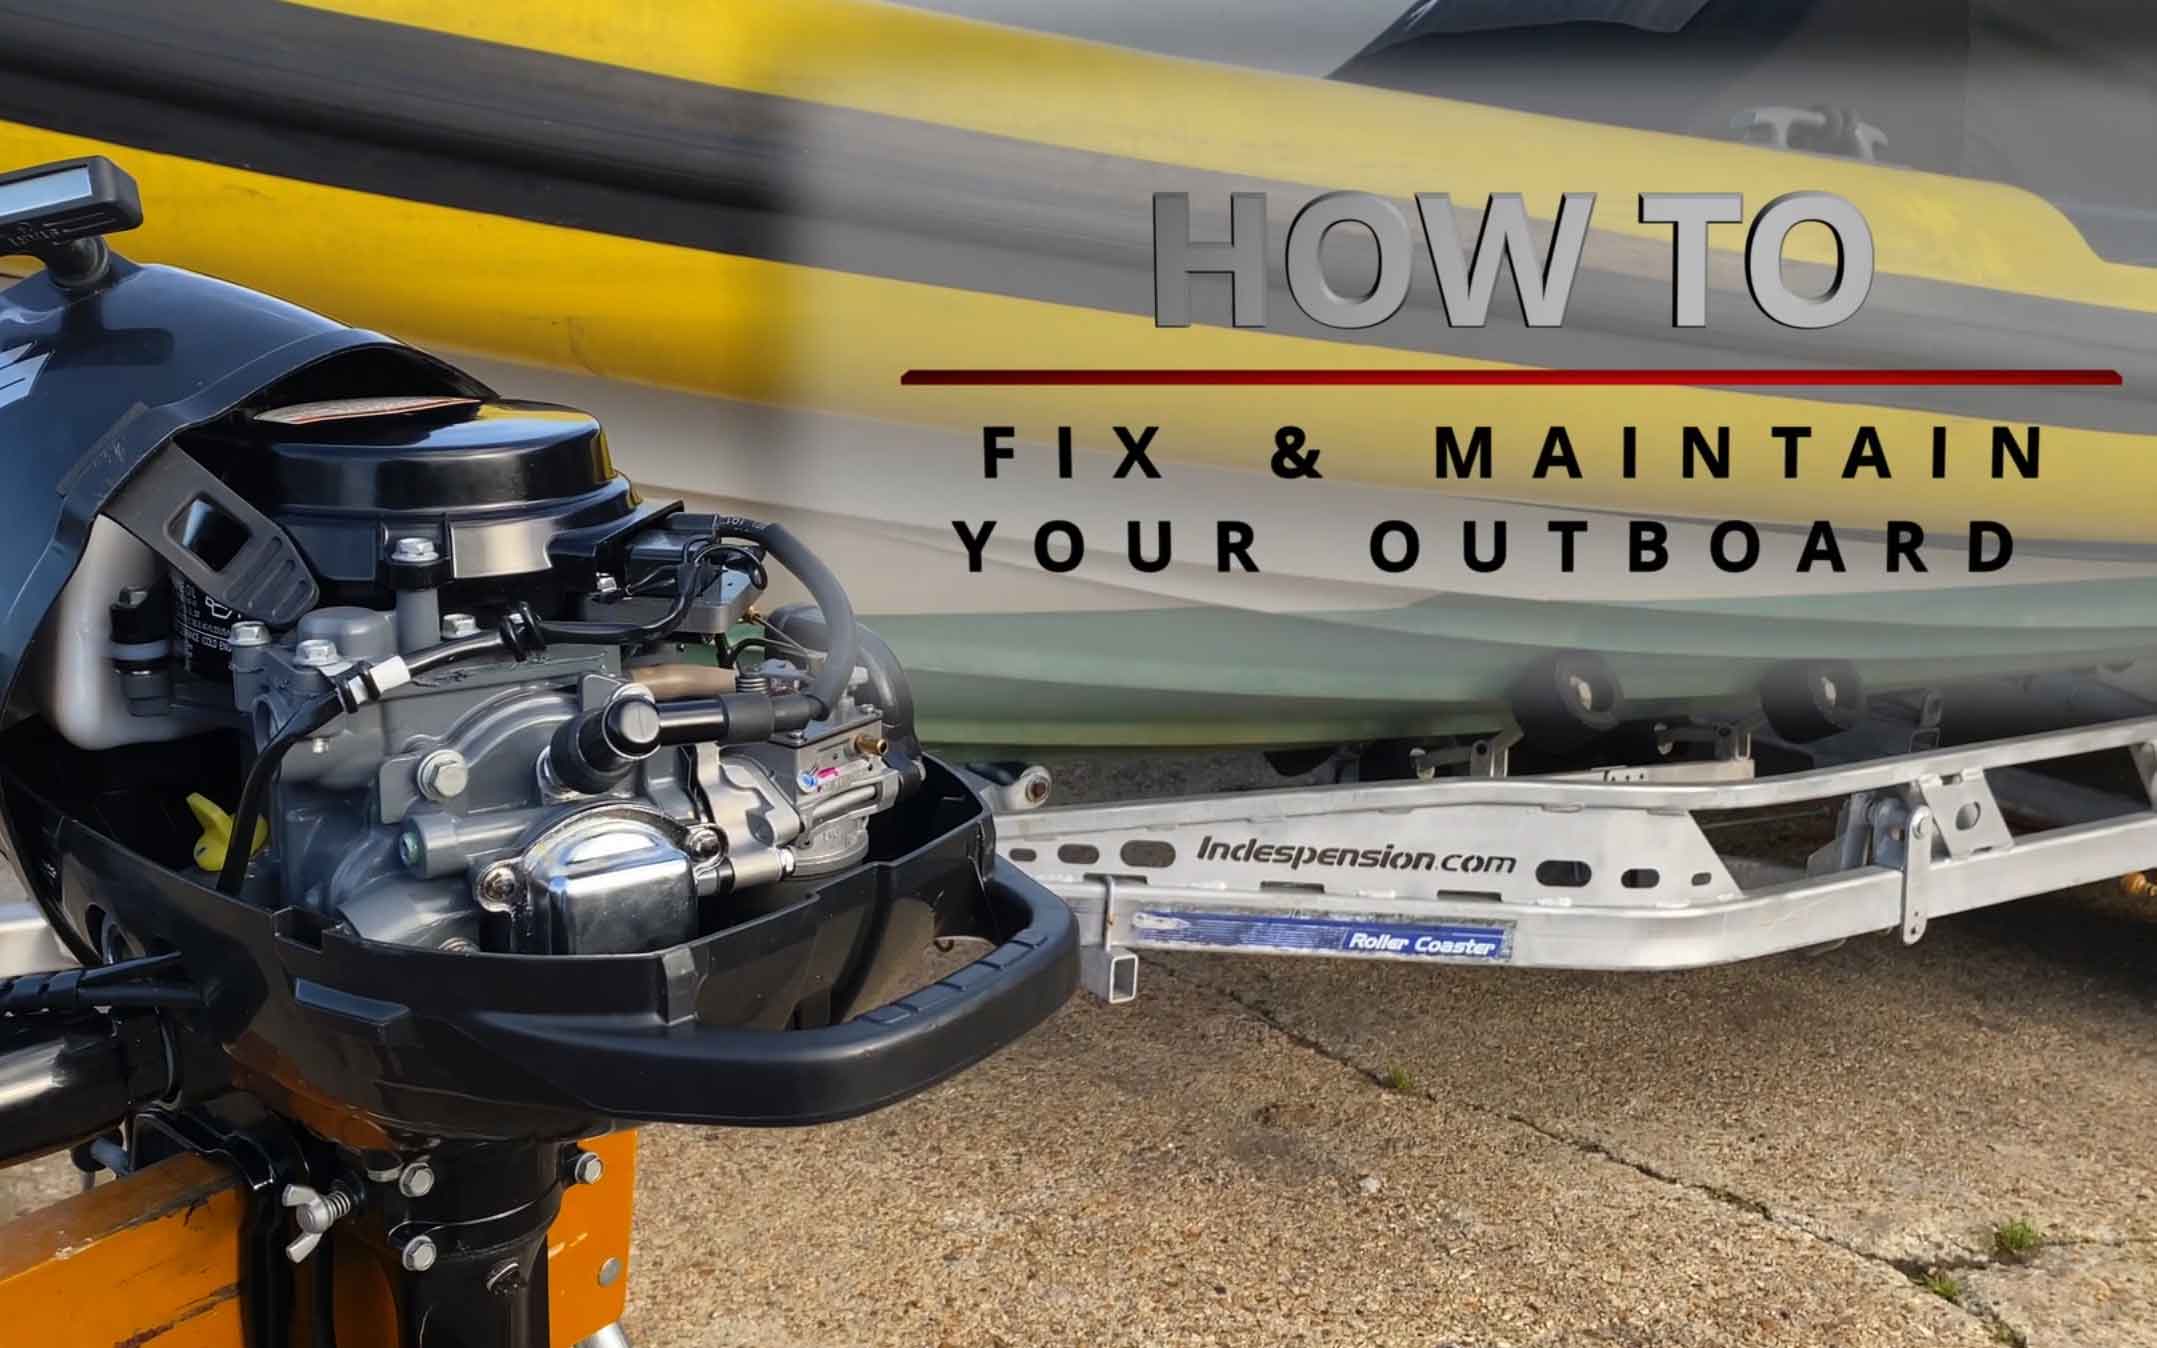
Dennison Berwick gives you a complete guide to getting you boat engine fired up and ready for the new season

Getting the boat engine ready for service after lay-up (sometimes called ‘summerising’ in contrast to ‘winterising’) should be straightforward and not difficult or time consuming, especially if some of the necessary tasks were completed during laying-up, writes Dennison Berwick.
If these tasks (such as oil change and impeller inspection) were not completed, now is the time – before an engine breakdown spoils time on the water.

It is goof practice to change the oil filter whenever you change the oil
Preventative maintenance is the key to reliability and well worth the modest investments of time, effort and cash.
When we think of our summer sailing it is rare we imagine ourselves motoring along but it is an absolutely essential piece of equipment to keep functioning well
Boat engine checks: Maintenance log

Dennison Berwick is author of Marine Diesel Basics 1: Maintenance, Lay-up, Winter Protection, Tropical Storage, Spring Recommission (Voyage Press, £10.99) the first visual guide to marine diesel systems. He lives aboard SV Oceans Five, a 36ft Chevrier build in 1982
Keeping a maintenance log may sometimes feel like an extra chore, but having one greatly simplifies getting re-acquainted with the diesel system after months away from the boat – jobs done, items taken apart (such as raw water pump), tasks yet to be completed, and items removed from the boat.
A log is simple and easy to keep; don’t trust to memory for information on which the boat engine depends.
A double-page spread in a plain notebook works well.
It can feel like a big task but if it is something you get into the habit of filling out after any work it adds little to the time it takes to complete a task.
Boat engine system overview
Before tackling specific tasks, it’s a good idea to use a strong light and take a look at the engine compartment, the engine and components, under and behind the engine, and in the bilge to ensure everything looks okay.
It’s surprising how much can be picked up by a glance:
- Has any insulation or debris fallen onto the boat engine?
- Are there any signs of rust or leaks– a clean engine helps with this!
- Inspect the bilge for oil, fuel, coolant or water. Locate the source.
- Feel along hoses for any soft spots or hardening. Replace if deteriorated.
- Engine mounts do deteriorate over time, so this is a good opportunity to inspect and note their condition in the maintenance log.
- Inspect the condition of the coupling, shaft, and shaft seal or stuffing box.
Diesel fuel
Diesel boat engines need scrupulously clean fuel.
Any sediment or water in the fuel will have settled out during lay-up so it’s worthwhile draining a sample from the bottom of the fuel tank, if this is possible.
Abnormal water in the tank may indicate a leaking deck fill cap, maybe from a missing or damaged O-ring.
Growth of HUM (Hydrocarbon utilising microorganisms) is generally not a problem in colder climates, but can grow with alarming speed in hotter regions.
Adding a dose of biocide to each fuel fill can prevent a lot of trouble.

Abnormal water in the tank may indicate a leaking fuel cap
Best practice is to change the primary (off engine) filter every autumn and the secondary filter at least every second year, using 10-micron and 2-micron elements respectively.
Any water in the bottom of the primary filter should be drained before start-up.
It’s a common misconception that fuel is clean if it looks clean.
Human eyes can see down to about 30-40 microns in size. A grain of sand is about 100 microns and red blood cells 8 microns; so it’s not possible for naked eyes to see the particles that can eventually plug a 10-micron filter.
Best practice is to change both fuel filters at regular, fixed intervals, even if they look clean.
Lubrication
Don’t start a new season with old oil in the boat engine.
If this vital task was omitted during lay-up, the engine oil and filter should be changed now to remove corrosive acids, which attack the inside of the engine, and to help prevent carbon sludge building up and blocking small oil passages.

Change the primary filter ever autumn
It’s a good idea to also change the automatic transmission fluid (ATF) in the gearbox each year.
The ATF certainly should be changed if there’s any evidence of overheating (darkening of the fluid). Additives in the fluid break down over time and the gearbox works hard, so this is cheap insurance.
Distributing the oil
Gravity drains the engine oil into the sump throughout the months of lay-up, leaving bearings and surfaces exposed.

When you refill the oil, make sure the dipstick is properly seated for measuring so you don’t overfill. Remember to check and replace the gearbox oil too
Rather than immediately firing up the engine, it’s prudent to start the engine the first time in three steps to help distribute some oil over bearings before the metals heat up and expand:
- Rotate the engine by hand about 12 times – put a socket on the nut in the centre of the crankshaft pulley. Most diesels rotate clockwise at the front.
- Without allowing the engine to start, use the starter to crank two or three times for 3-5 seconds – the oil pump will circulate more oil while the
engine is still cold. - Start the engine and listen for the oil pressure alarm to silence. Check the oil filter for leaks. After engine shut down, check the oil level on the dipstick.
Raw water cooling
A little dishwashing liquid on the vanes of the raw water impeller make it easier to twist and insert the impeller without cutting or nicking the rubber.
Check that the inside of the cover plate is very clean (use 240 grit paper for a light sanding, if necessary) and that the paper gasket or O-ring is in perfect condition.
Any small defect can seriously reduce the amount of water pumped.

It’s a good idea to leave changing the impeller to the spring, so it doesn’t have time to sit and harden in the engine over winter
Impellers on some engines can be hard to reach, discouraging removal and inspection.
However, it’s not possible to properly inspect for damage, such as small tears at the base of the vanes, when an impeller is compressed inside the pump housing.

Make sure you replace the gasket or O-ring on your water impeller. A tiny leak can stop it working. Credit: Graham Snook/Yachting Monthly
In addition, if the impeller was not removed during lay-up, some of the vanes will be permanently bent (‘taking a set’).
The pump will still function but will likely be less efficient.
Antifreeze
The fluid should be changed every two years, preferably during lay-up, before precipitates have a chance to block small cooling passing in the engine block.
Check the level, either in the header tank or the overflow bottle.
Always pre-mix antifreeze/coolant and water to ensure full mixing before adding.
Breathing
Diesels run best with lots of clean, cool, oxygen-rich air.
A boat engine burning one litre of diesel per hour needs about 15,000 litres of air (source: Baldwin Filters).
Good engine compartment ventilation also helps remove engine heat, providing cooler air to the engine intake.
It’s easy to forget to reopen any vents or to remove any insulation baffles installed before winter.
Electrical
A battery showing 12.65 volts (fully charged) may still have reduced capacity due to sulphation during lay-up (hardening of sulphates on the battery plates).
This happens over time if a battery is not kept fully charged.

Load test your batteries if you have any doubt about their capacity. If the voltage drops below 10V while cranking then the battery may be on its last legs
Load test the battery if there’s any doubt about its capacity and ability to start the engine throughout the coming season.
A load tester typically puts a 10-amp load on a fully-charged battery and measures the voltage. If the voltage falls quickly or low (below 10 volts), the battery is likely to need replacing. The same test can be made with a multimeter measuring battery voltage while cranking the engine.
Anodes
Galvanic corrosion (between dissimilar metals that are electrically connected by water, or antifreeze/coolant) continues even during lay-up, so all anodes should be rechecked and replaced when about 50% consumed.
This includes the anode on the propeller shaft anode, if the vessel was laid-up in the water.
Continues below…

Diagnose and fix marine diesel engine problems
Tim Bartlett explains how you can diagnose some common marine diesel engine problems, and fix most of them
Outboard engine troubleshooting video – How to check fuel, carburettor, spark, cooling, oil & more
Small four-stroke outboard engines are pretty simple. Max McHugh of Marine Matters explains how to fix the most common problems,…

Biofuel upgrade will affect older petrol engines
E10 petrol, which contains up to 10% renewable ethanol, will be introduced as standard at petrol forecourts in the UK…

White diesel: is it worth converting from red?
Duncan Kent examines the implications of switching from red to white diesel and what you can do to avoid fuel…
Not all boat engines have anodes (check the manual).
A heat exchanger can develop pin-prick holes if its protective anode is allowed to be consumed.
Drivetrain
With the gearbox in neutral, the propeller shaft should turn easily and smoothly with little resistance.
And there should be little or no side to side, up and down movement of the shaft in the cutlass bearing (Cutless is a trademark).
Aligning the engine should not be necessary if no work was done on the drivetrain or engine mounts.
In the water
After an absence from the boat, it’s easy to forget a few items that should be checked just before and immediately after engine start up.
Using a checklist jog the memory and help make sure nothing is missed.
Boat engine checklist
Engine compartment
- General condition, any leaks
Diesel fuel
- Check all hose clamps in the fuel circuit. Changes in temperature can cause the screw mechanism to ‘walk’, slackening the grip
- Open fuel valves – including any valve in the fuel return line
Lubrication
- Check engine oil level (and change oil and filter if not done earlier)
- Check the level of transmission fluid n Check injection pump and governor dipsticks (if fitted)
Raw water cooling
- Check that all seacocks open and close easily. If a seacock is frozen open and cannot be serviced or replaced, it should, at least, be equipped with a wooden plug in case the hose fails.
(Best practice at all times) - Check hoses and hose clamps
- Check anodes in heat exchanger, header tank, oil cooler, engine block. Replace if 50% consumed
- If vessel was laid-up in water, check propeller shaft anode, if possible
- Check the syphon break is clean of scale or salt crystals. Take care to re-assemble correctly if the device was taken apart to flush with fresh water
- Reconnect the exhaust manifold, wet exhaust hose, and raw water hose into the exhaust riser, if any of these were disconnected. Check hose clamps
- Close the drain on the water-lift muffler n Open the exhaust thru hull if closed
Antifreeze
- Check the level of antifreeze/coolant in the head tank or overflow bottle. If low, find out why
- Avoid topping up with only water as this dilutes the antifreeze capacity
Breathing
- Re-install the air filter, if this was removed for cleaning
- Open all air intakes to the engine room and check that they are clear of any winter insulation
Electrical
- Inspect battery and battery box for any signs of swelling, cracking or spilled battery acid
- Clean battery top and terminals
- Check electrolyte levels and add distilled water, if needed
- Reconnect battery terminals. Limit four terminals to a battery post. Avoid wingnuts as these are prone to vibrating loose
- Tighten the belts (alternator, raw water pump)
- Switch bilge pump to Auto and lift the arm on the float switch to activate and check the pump
Drivetrain
- Inspect the coupling and shaft, inspect cutlass bearing and replace the bearing if loose or damaged
- Inspect the shaft seal or stuffing box
- Inspect the propeller shaft anode. Replace if close to 50% consumed
- Inspect the propeller, prop nuts and cotter pin
- Check control cables (throttle, gear and stop) are securely attached
- Some dripless lip shaft seals need to be greased each year – see manual
In the water
- Open raw water seacock
- Raw water strainer may need to be primed, if above the waterline
- Start engine
- Oil pressure alarm silences within a few seconds of engine starting
- Check raw water flowing from exhaust. If not, strainer may be airlocked. Unscrew the top slowly to allow water to flow up from the seacock, then retighten n Check alternator is charging –battery monitor should show 13+ volts.
- Loosen packing in a traditional stuffing box, if this was tightened. Adjust until the box drips approximately once every 10 seconds and not at all when the shaft is still
- Dripless shaft seals must be ‘burped’ to remove air from the bellows if there is no air vent (small open-ended hose coming from the bellows to above the heeled waterline). Trapped air will
cause the seal to overheat and fail - Check all seacocks, raw water strainer and raw water pump for leaks
- Before leaving the dock, verify that the vessel responds to all movement of engine controls (forward, aft, neutral, throttle and engine stop)