


The RYA Yachtmaster is a good test of advanced seamanship, but the best sailors know that there will always be lessons to be learned from experience
Yachtmaster Plus – Lessons learned from experience Part 2
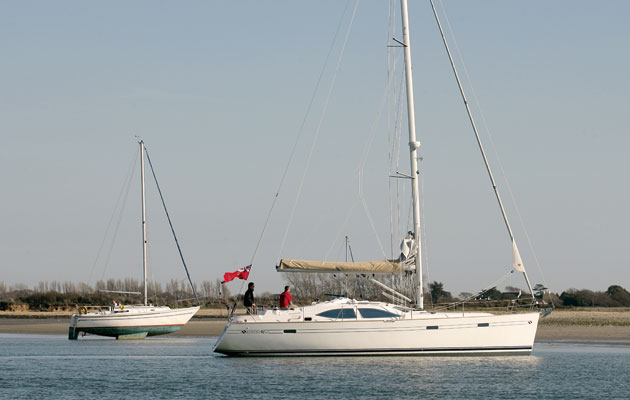
ANCHORING
See our guide to choosing the right anchor here
See our guide to anchors’ pros and cons here
The bottom is all
Tom Sampson

Tom Sampson
Tom Sampson has been a Yachtmaster since 1974. Currently sailing the world in a Nauticat 331
You should be looking at the anchorage well before you get there, note any yachts leaving and watch the movements of anchored boats. You will then be able to identify any vacant spaces and note any area with stronger wind surges.

Sea grass tufts indicate hard sand below you – soft sand is barren
When you are close to the anchorage, try to identify the bottom type. Hard sand often has sea grass tufts growing in it, soft sand is barren. It is difficult to determine if the anchor has set in sea grass, and what appears to be a good hold is often just sea grass, which after a while releases the anchor.
Mud is good but it takes a time for the anchor to set.
A rocky bottom is always troublesome and whilst the anchor can get a good hold, there is always the danger of a chain wrapping round a rock.
To drop your anchor in the right spot, lower it to within a metre of the sea bed before anchoring. This is useful if you have only a small area of sand or mud between beds of sea grass or areas of rocky bottom.
Remember that scope is the distance from the seabed to your anchor roller or hawse hole, not the sea depth. Lay out as much chain as you can.
Three times the scope is the absolute minimum – a forced limitation in a busy anchorage. The exception is when you are anchoring among rocks – the chances of dragging will be less than the chances of wrapping your chain around a rock. A tripping line for the anchor should certainly be considered.
When deciding whether to use a tripping line, be aware that in conditions where there is a lot of movement, it can quite easily get caught on your own rudder, skeg or keel and trip the anchor for you.
Drop the anchor when you are stationary, then go slowly in reverse at a speed less than that at which the chain is being laid. Once the chain is straight, check the anchor is set by a burst of power in reverse. In mud, do this very gently, and wait an hour or so, then do it again with more power. In warm water, swim over the anchor for a visual check.
Try different lengths of snubbing line; and if you have a bowsprit with a martingale to hold it in place, try a bridle. On my Nauticat, for example, I have a bridle, 4m in length, to both cleats either side of the bow. For a snubbing line to be effective, it needs to be around 3-4m long.
Placing your anchor
Bill Anderson

Bill Anderson
YM’s seamanship guru is Bill Anderson, the former RYA training manager who redesigned the Yachtmaster courses
Shortly after starting to cruise my centre-boarder and discovering the joys of drying out, I became aware of an unforeseen calm weather hazard. Looking over the side one morning, with the boat more or less dry, I noticed the CQR anchor, with half of its ‘plough’ showing above the sand, close alongside. If we’d dried out three metres to starboard, the anchor would have holed the hull or the hull would have broken the anchor.
It’s only a problem where the wind is against and almost balanced by the ebb, or where there is slack water and a light and variable wind. It can be avoided, in clear water and daylight, by looking out for the anchor (just follow the curve of the chain) as drying time nears and moving the boat at the last minute if necessary. When drying out in the dark, or in murky water, use two anchors far enough apart for each to be clear of the swinging circle round the other.
Give the anchor time to work
Nigel Calder

Nigel Calder
Nigel Calder is the author of the best-selling Boatowner’s Mechanical and Electrical Manual
In anything other than a pure sand or mud bottom, give the point of the anchor time to work into the bottom under a light load before pulling hard to set it.
Use spray paint
Paul Boissier

Paul Boissier
RNLI chief executive Paul Boissier sails Snow Goose, an Island Packet 380, from Gosport
The anchor that comes with your boat may not be the right one for you, either in design or weight. It’s therefore a good idea to always choose an anchor that suits you, your sailing plans and your cruising area.
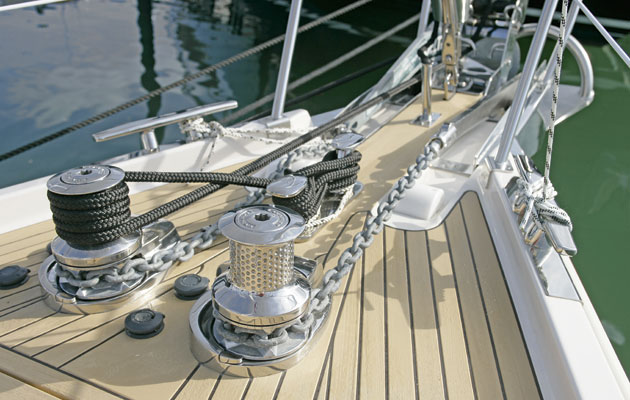
I mark off my anchor chain with auto spray paint every three metres and change the spray paint colour every five marks to make counting easier.
You generally feel reasonably safe at anchor if you have three times the maximum depth of water, so if I’m anchoring in six metres, I will drop six measures of chain – plus one for luck. If you want to be more cautious, mark your chain off every four metres.
Port anchor wisdom
Sir Robin Knox-Johnston

Sir Robin Knox-Johnston
Sir Robin Knox-Johnston was the first person to sail singlehanded and non-stop around the world
If a cold front is likely, use the port anchor first
Use the port anchor first. If a cold front comes in, and the wind veers, you can drop the starboard anchor to get more grip and it won’t lay out over the port anchor cable.
Avoid the herd
Paul Boissier
Don’t feel constrained by the herd instinct! New arrivals at an anchorage often gravitate towards the boats that are already anchored – for security as much as anything else. Check the chart, and don’t be afraid to anchor on your own if you are happy with the bottom type, shelter, depth of water, and so on. If conditions make berthing in a tight marina difficult, you may be safer and more comfortable anchoring off. This is often the case in Cherbourg.